I love fabric. If I could, I would have a job that would give me the excuse to visit the local fabric market every week in search of my next conquest. When I enter a fabric store, I always find beautiful fabric that, sadly, doesn't go with our home's color palette, our party's theme, or any possible project in the horizon. It truly pains me.
On the flip side, I'm overjoyed whenever I'm able to give a beautiful print or pattern its new home. I feel my true calling is to pair a fabric with a purpose: life as an upholstered coffee table, a fabulous future as home office blinds, or a courageous mission as a changing table cover (it's a dirty job, but somebody has to do it, cutely).
One hurdle to my dream? I can't sew. Or upholster. Or afford the materials or spare the time I'd need to learn.
But I can tie a knot—or 72. Which is why I'm glad there are no-sew projects any mom can do.

The project: a tutu for my daughter's ballerina birthday party.
Search "no-sew tutu" on Pinterest, YouTube, or Google and you'll find all the how-tos you need for this project (The Pinning Mama has all the steps, with photos and a size chart). So I'm sharing this project with you not so much to show you how it's done, but to show that it can be done, for little cost, with little time, and no talent. My assistant kept waking up from his nap while I was working, so a sizable portion of this project had to be done balancing a nursing infant on my lap or wearing him in a sling. That is in no way a testament to my abilities; this project is just that ridiculously easy.
 |
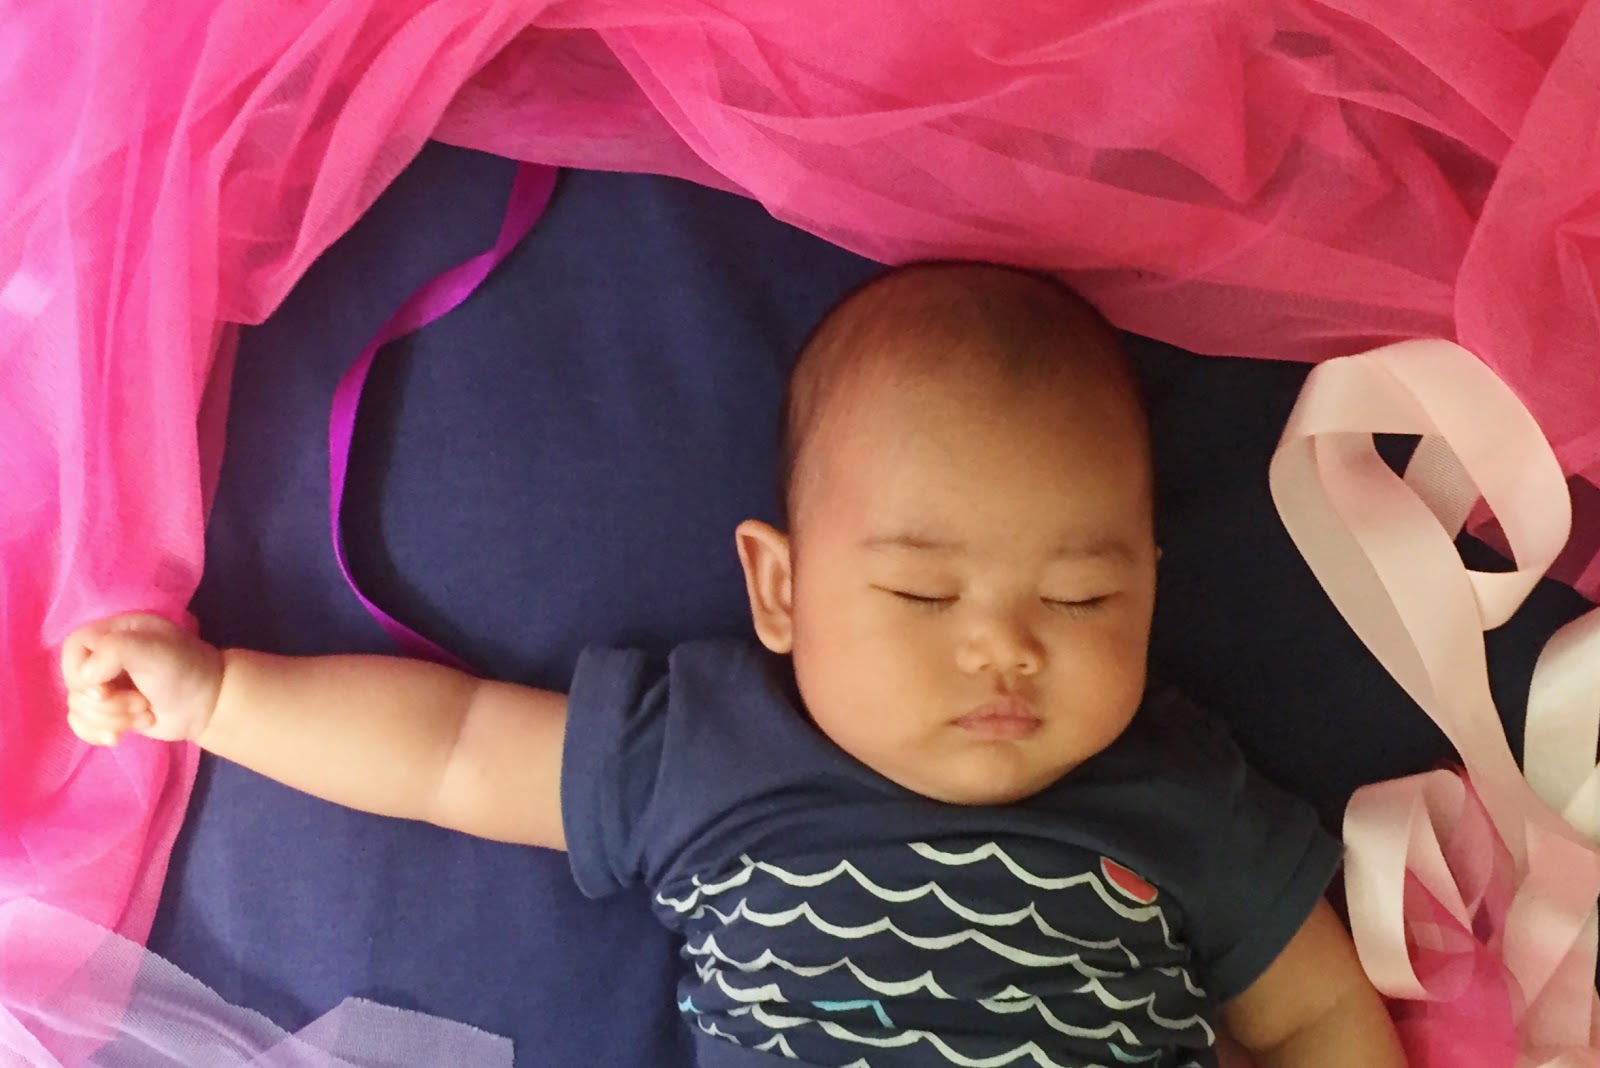
| "What is all this nonsense?" he thought, and promptly went to sleep. |
Found your tutorial of choice? Here are some other tips you can take with you.
Shopping for Fabric

Buy fabric from the market. None of the stalls were selling tulle ribbon, the kind you'll see in most tutorials, so I bought my tulle per yard, for Php120 per yard. (I've heard that you can find tulle for even cheaper at Divisoria, but I have yet to brave that market.) I chose 4 different colors and just guesstimated the amounts I needed for each. All in all, I bought 4.5 yards. Total cost: Php520.
Update: Michelle's Ribbon and Lace Center sells tulle in a wide variety of colors at Php60 per yard. And they can ship it to you! My next tutu project will only cost Php270!
Ask for soft tulle. Soft tulle feels the loveliest and falls more gracefully. One of the fabrics I bought was a stiffer tulle, and though it did give the tutu a bit more pouf, it tends to stick out a bit and doesn't feel as dreamy as I wanted. The cheaper hard tulle is much too scratchy for little girl legs.
Cut to size. If you know how long you want your tutu (double the desired skirt length in inches to get the measurement for fabric length you need), ask the seller to cut it for you to that length. A half-yard will give you an 8- to 9-inch-long tutu, which is around the standard length for a toddler tutu, so you can ask for 9 half-yard pieces, whether in one color or a variety of colors. Having it pre-cut will save you from having to wrestle with a long piece of flimsy, fluffy fabric. Now all you need to do at home is cut the fabric into strips (see video link below).
Prepping the Materials

Cut out and organize your strips. Thank heavens for this tutorial. Everyone else was working from convenient little rolls of tulle while I had to tango with my fabric mountain (see above tip). Working with your half yard, lay it out on a flat surface and fold in half lengthwise. Roll or fold into a manageable size then lay your yardstick or measuring tape above it. Cut out 4-inch sections. Tada, strips!
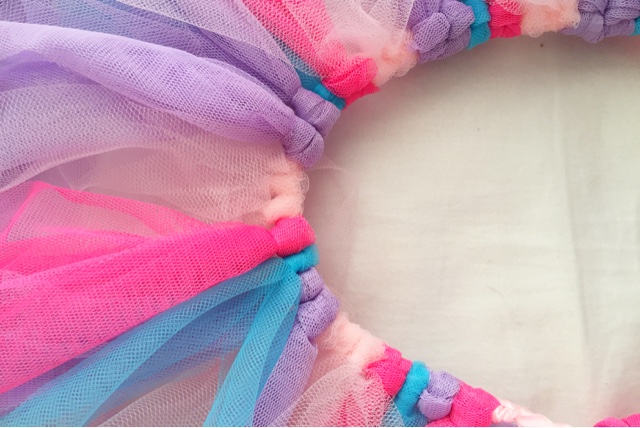
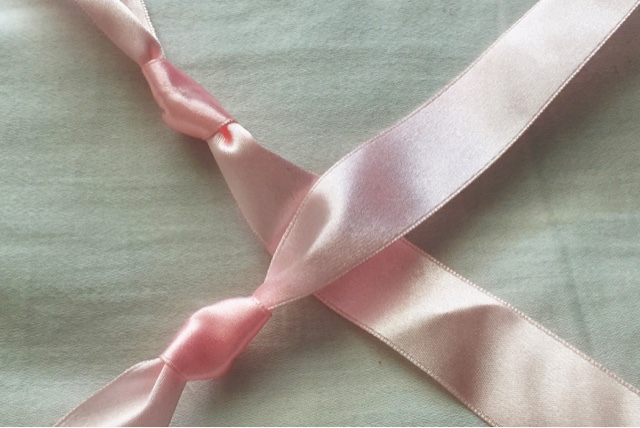
Knot your end points. Measure out ribbon to fit around your wearer's waist, then mark by tying knots at each end. This will give you an easy marker and keep your fabric from sliding around. I left a 20-inch tail on each end for tying.

Tying the Tutu

Find extra hands to help. What? You don't have a dress form in your house? Neither did I. But as I needed to be able to work with possibly just one hand (see nursing infant story above), I needed some help keeping my ribbon taut while I knotted. I tied the ends of the ribbon to the bedposts of my headboard. Problem solved!
Don't sweat the missteps. Made a mistake? Hating your color combo? Ran out of fabric and need to use your back up fabric but it's in the wrong color and now you'll have to insert it somewhere in the pattern so it looks intentional and not like you miscalculated? This project is extremely forgiving. Nothing is permanent, so you can easily retie strips, swap out strips, or add more strips even to parts you've already finished.

All in all, it took me just one morning to finish one dreamy ballerina tutu, from prepping to poufing. If I'd had the fabric pre-cut at the store, it would have taken me much less time. And since it doesn't look like we'll be leaving the ballerina/princess/mermaid stage anytime soon (she hasn't even started on fairies!) I think there will be more tutus in our future. Bring it on!
Have you made a no-sew tutu? I'd love to hear your tips and advice!
